
Vega Halogen Electric Wall Heater - Black
Warranty - 24 Months
Insured delivery within 3/5 days - Transport on Pallet
Easy returns within 14 days of delivery
Vega Halogen Electric Wall Heater - Black
We help you before and after your purchase with support for products, shipping, spare parts, technical assistance, and quote requests.
-
contact us
Talk to us before you buy
If you have questions about a product, compatibility, shipping, or support, the fastest way to get help is WhatsApp.
Support for products, spare parts, technical assistance, and quote requests.
-
customer support and assistance
We support you in choosing a product, checking compatible spare parts, and requesting technical assistance.
We can help you both before purchase and after the sale, with fast, clear support on availability, compatibility, use, and assistance.
To get help, contact us directly on WhatsApp.
-
shipping and delivery
We ship throughout Italy with free shipping on orders over €89.
For bulky products, technical items, or made-to-order products, delivery times may vary depending on availability and the shipping method.
If you’d like confirmation before purchasing, you can message us on WhatsApp or call us at +39 351 9040183.
-
doubts and questions
Have a question before buying? We can quickly help you with:
- product availability
- delivery times
- spare parts compatibility
- support requests
- payment methods
- quote requests
For a quick response, you can message us on WhatsApp or call us at +39 351 9040183.
Descrizione
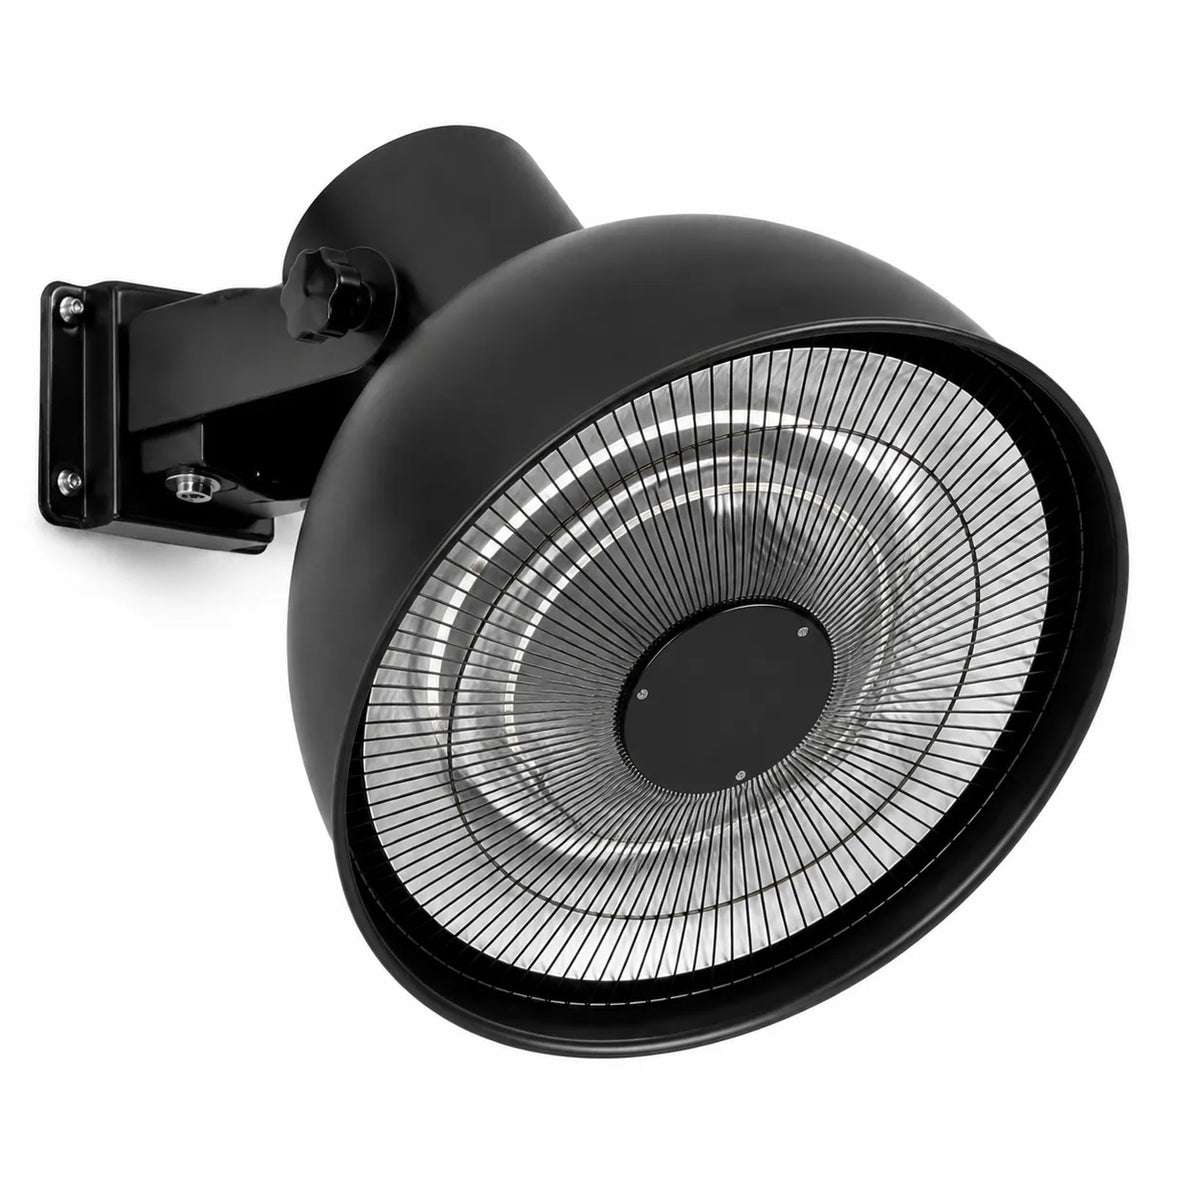
Vega Electric Wall-Mounted Mushroom Heater - Black
Product description
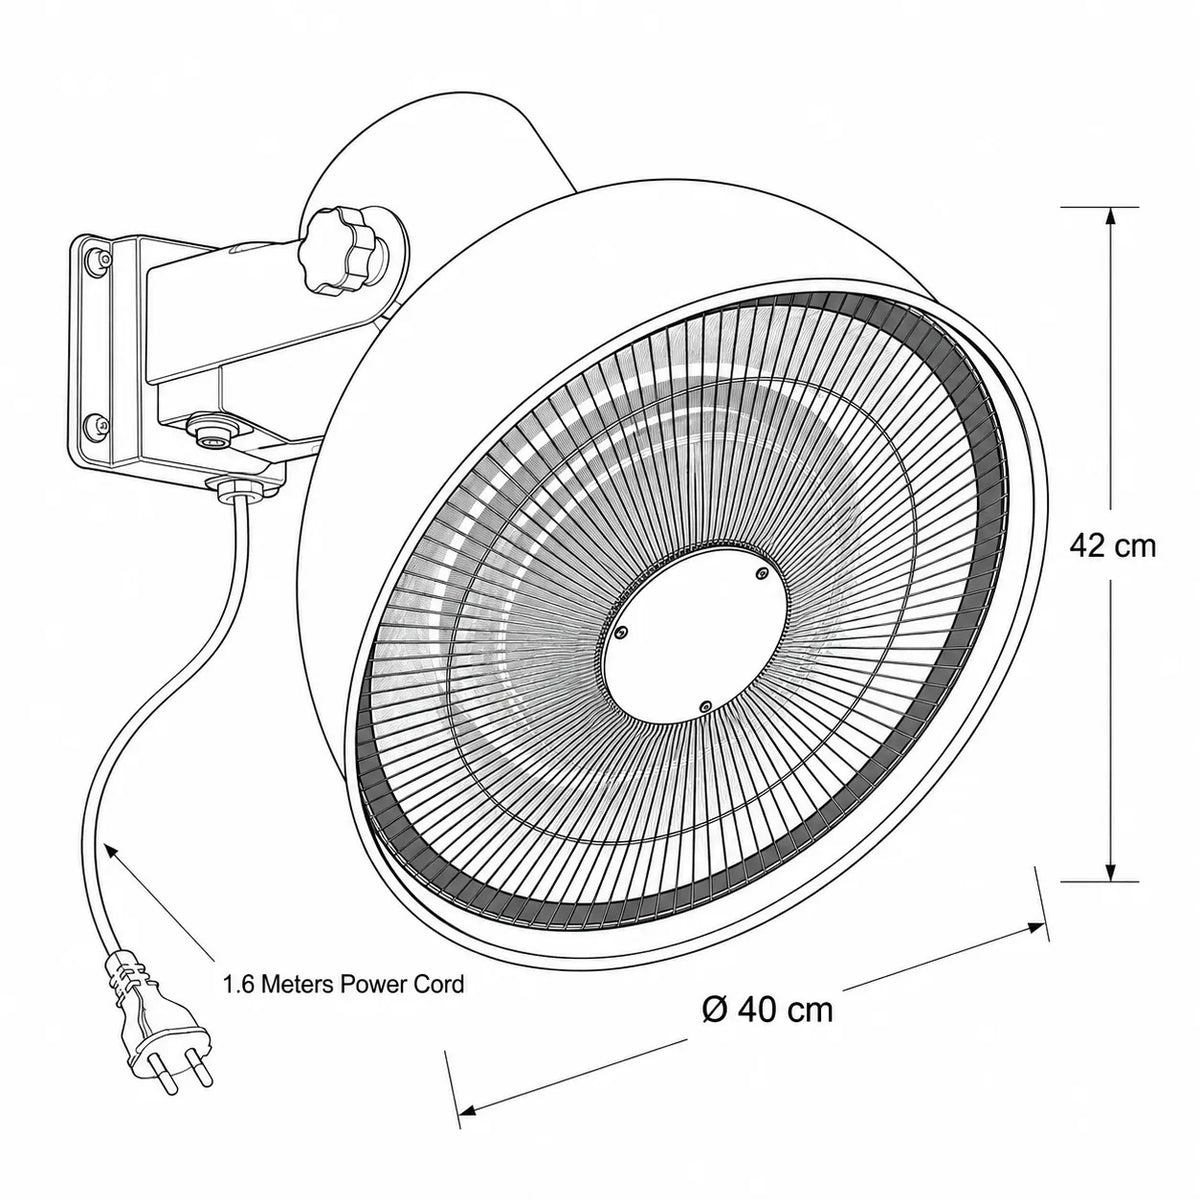
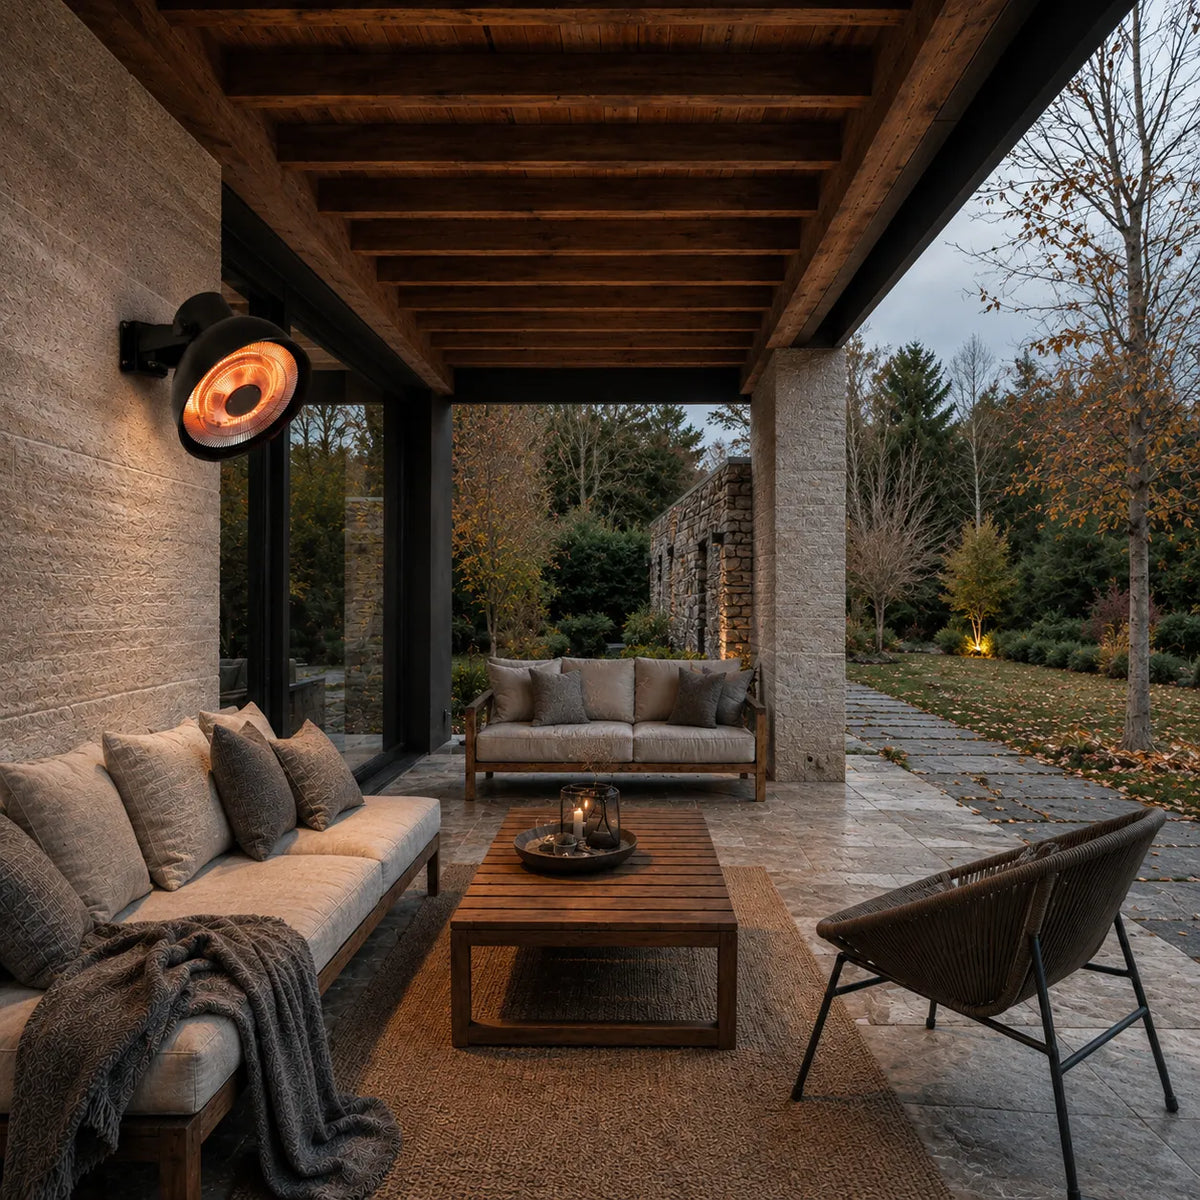
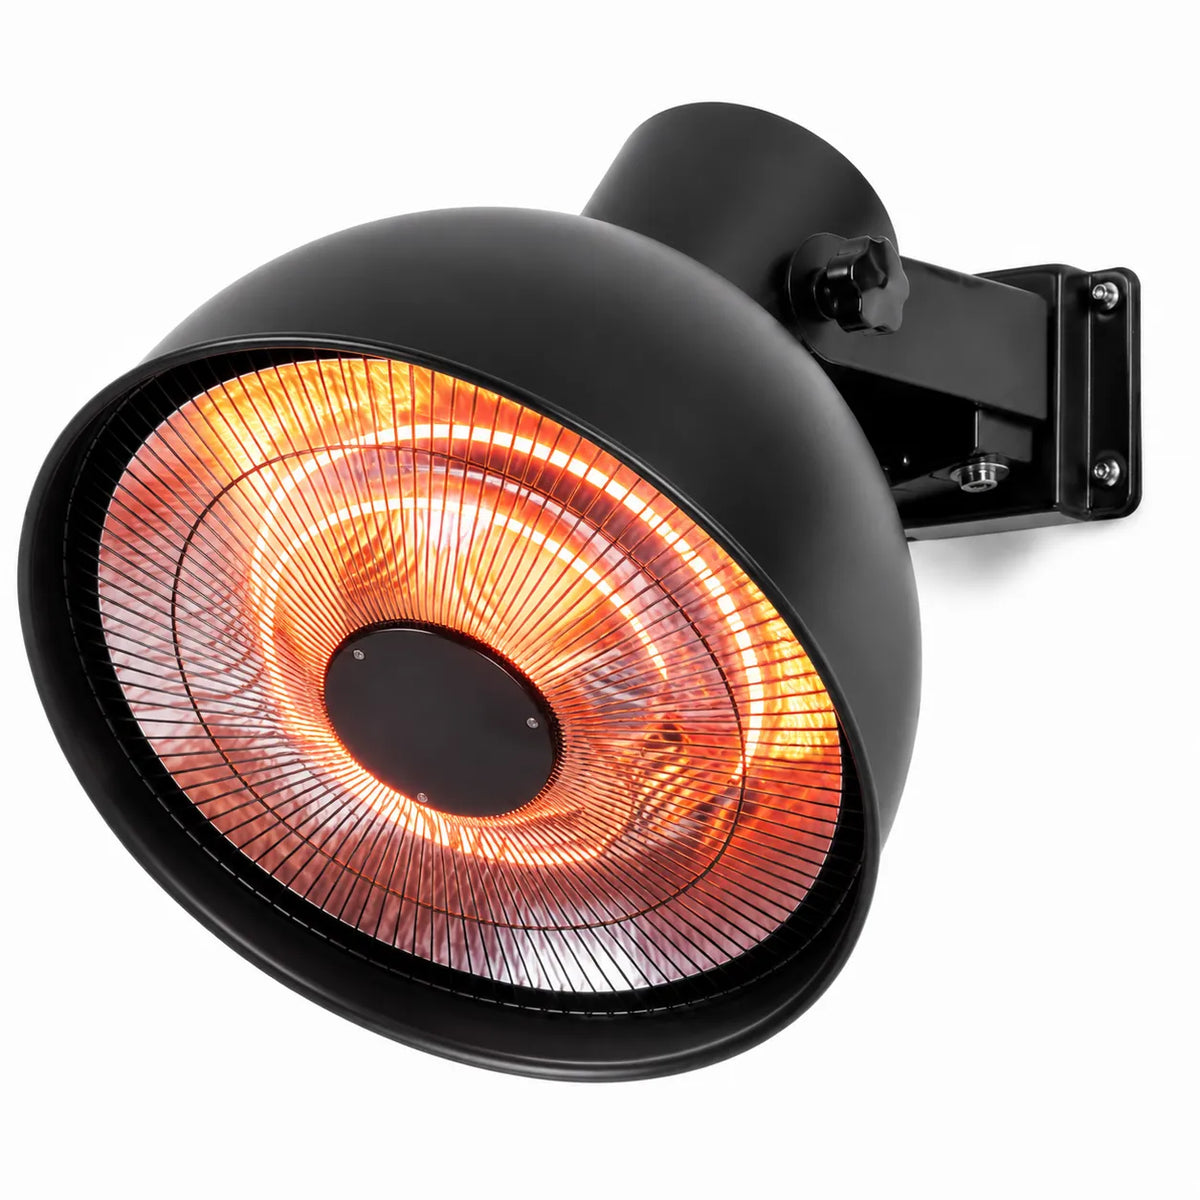
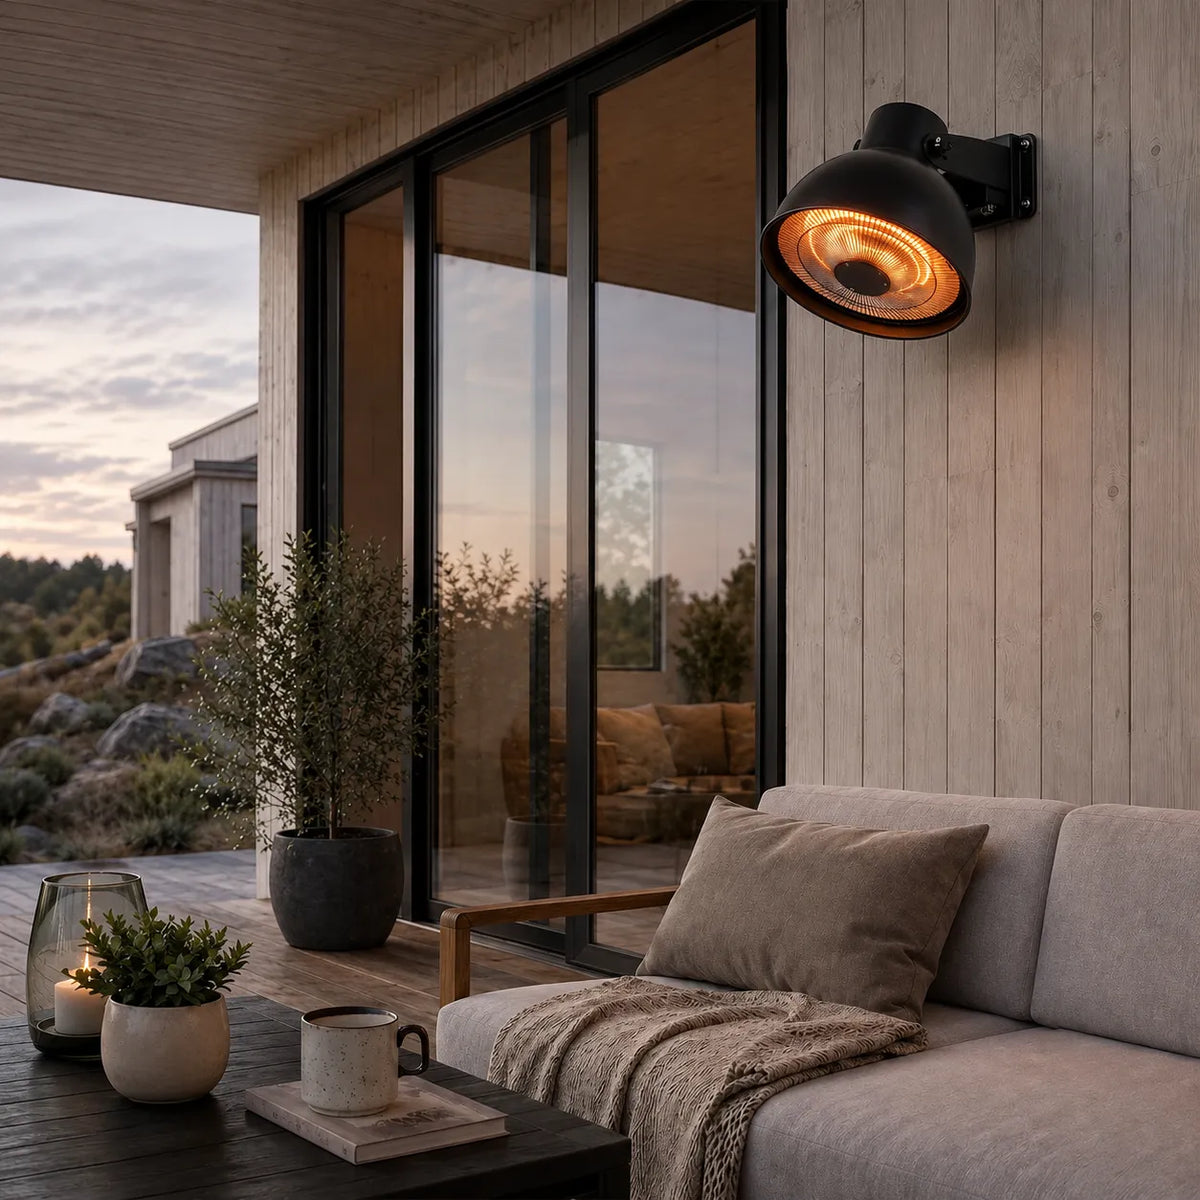
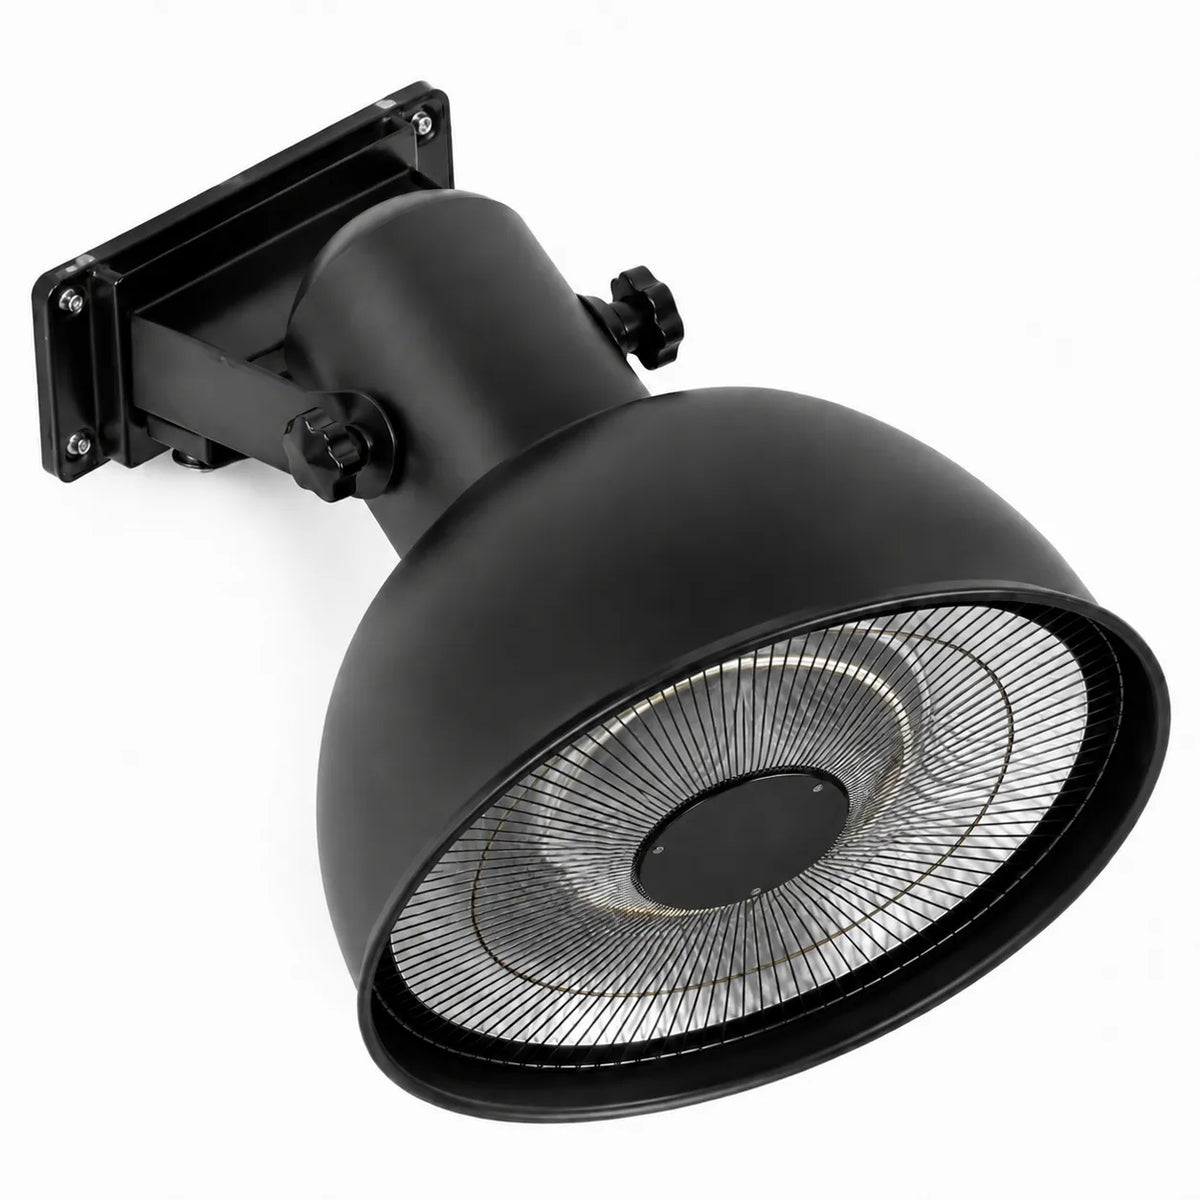
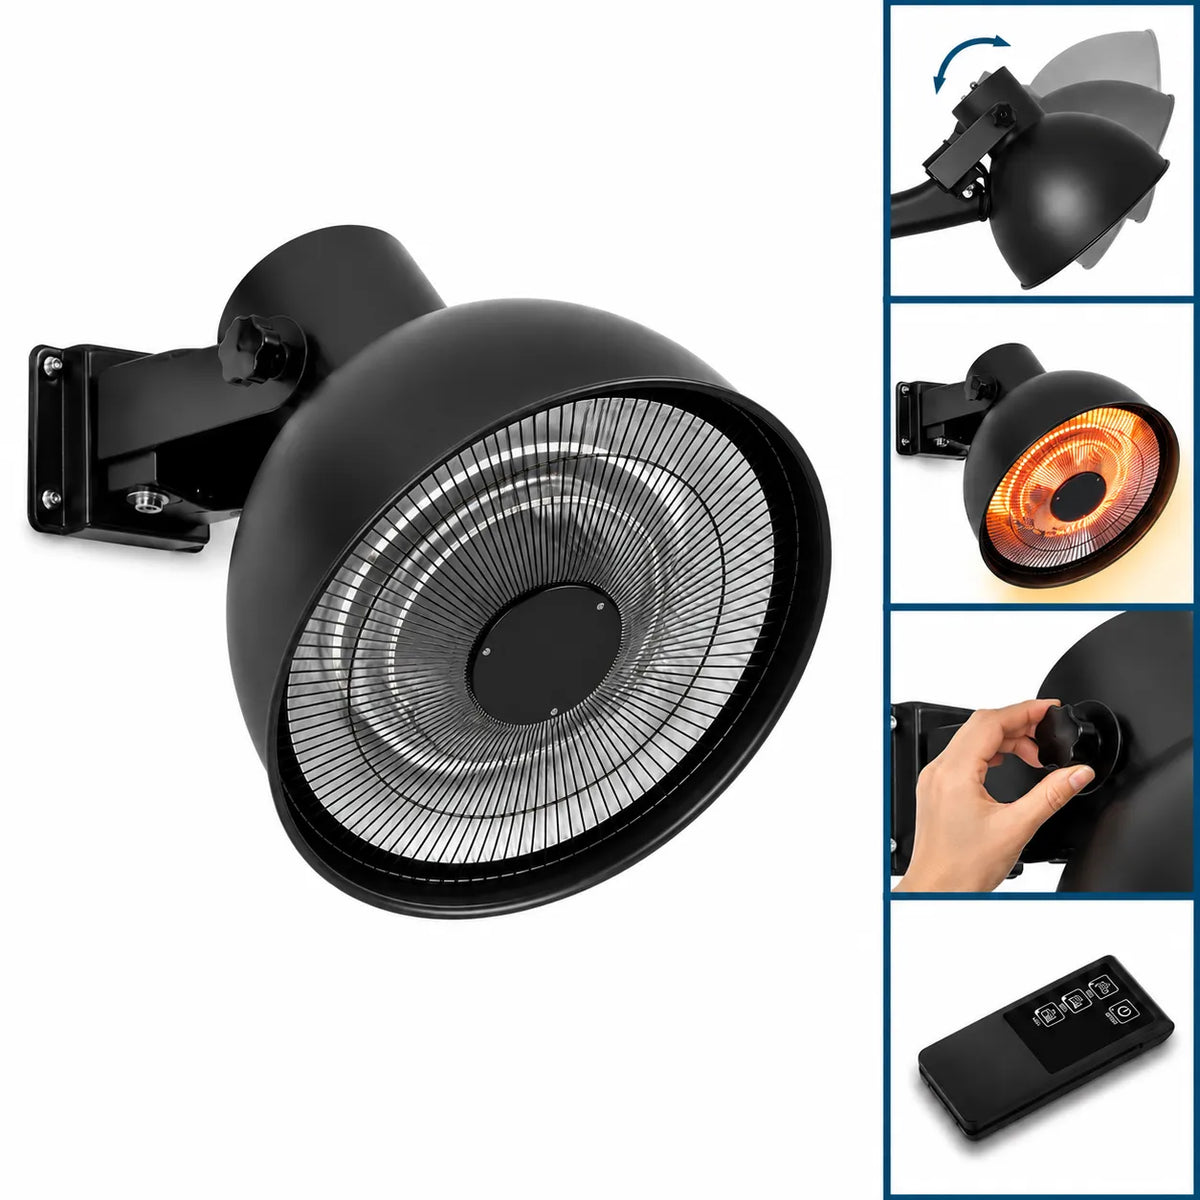
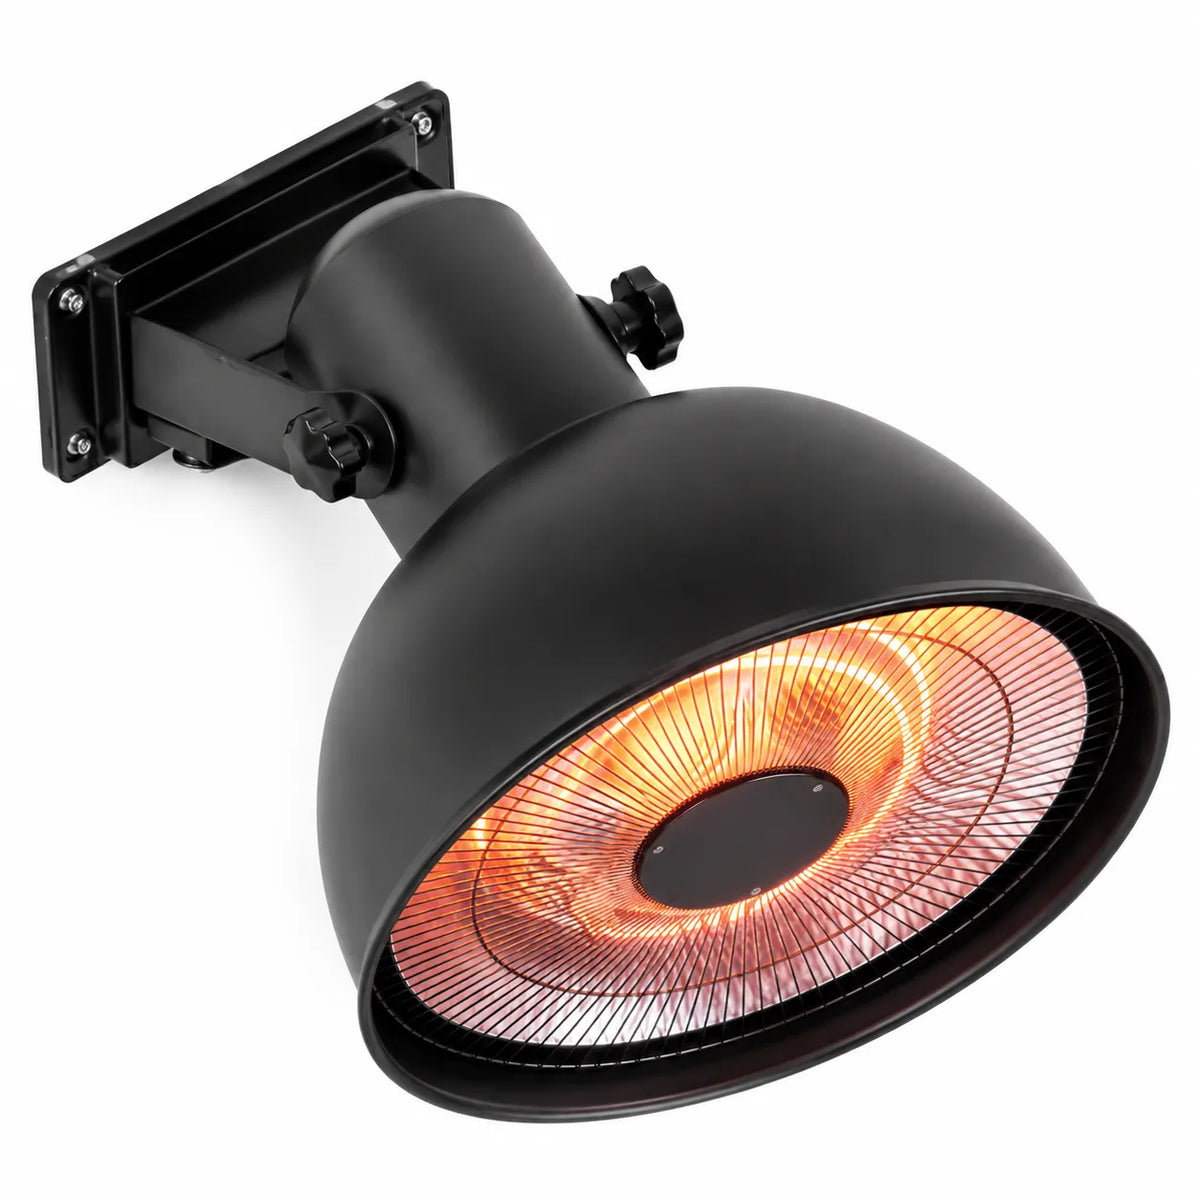
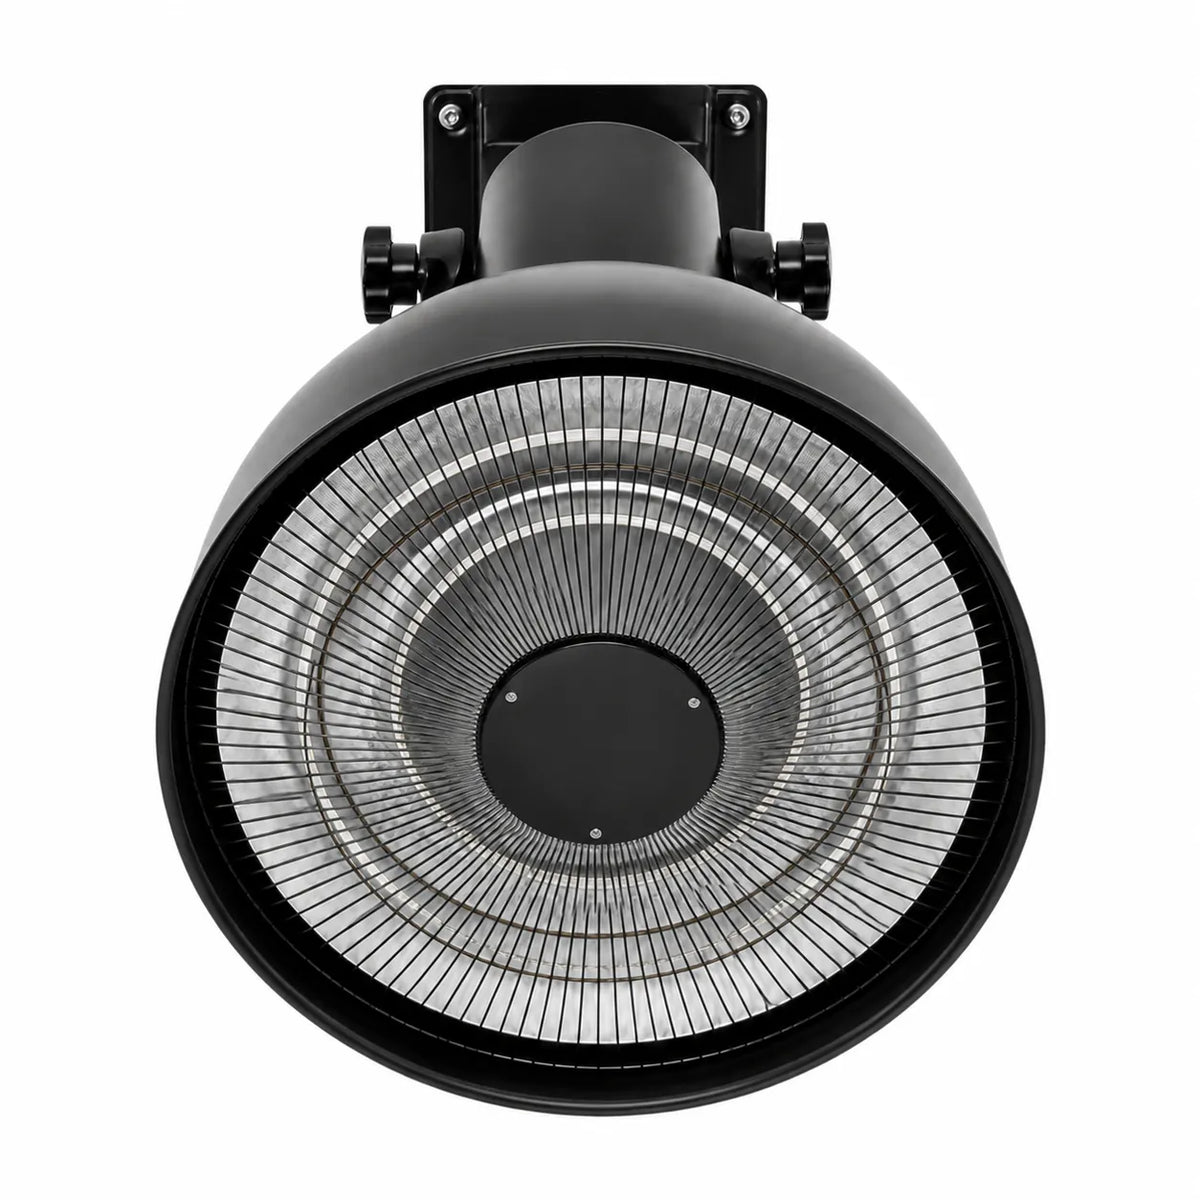
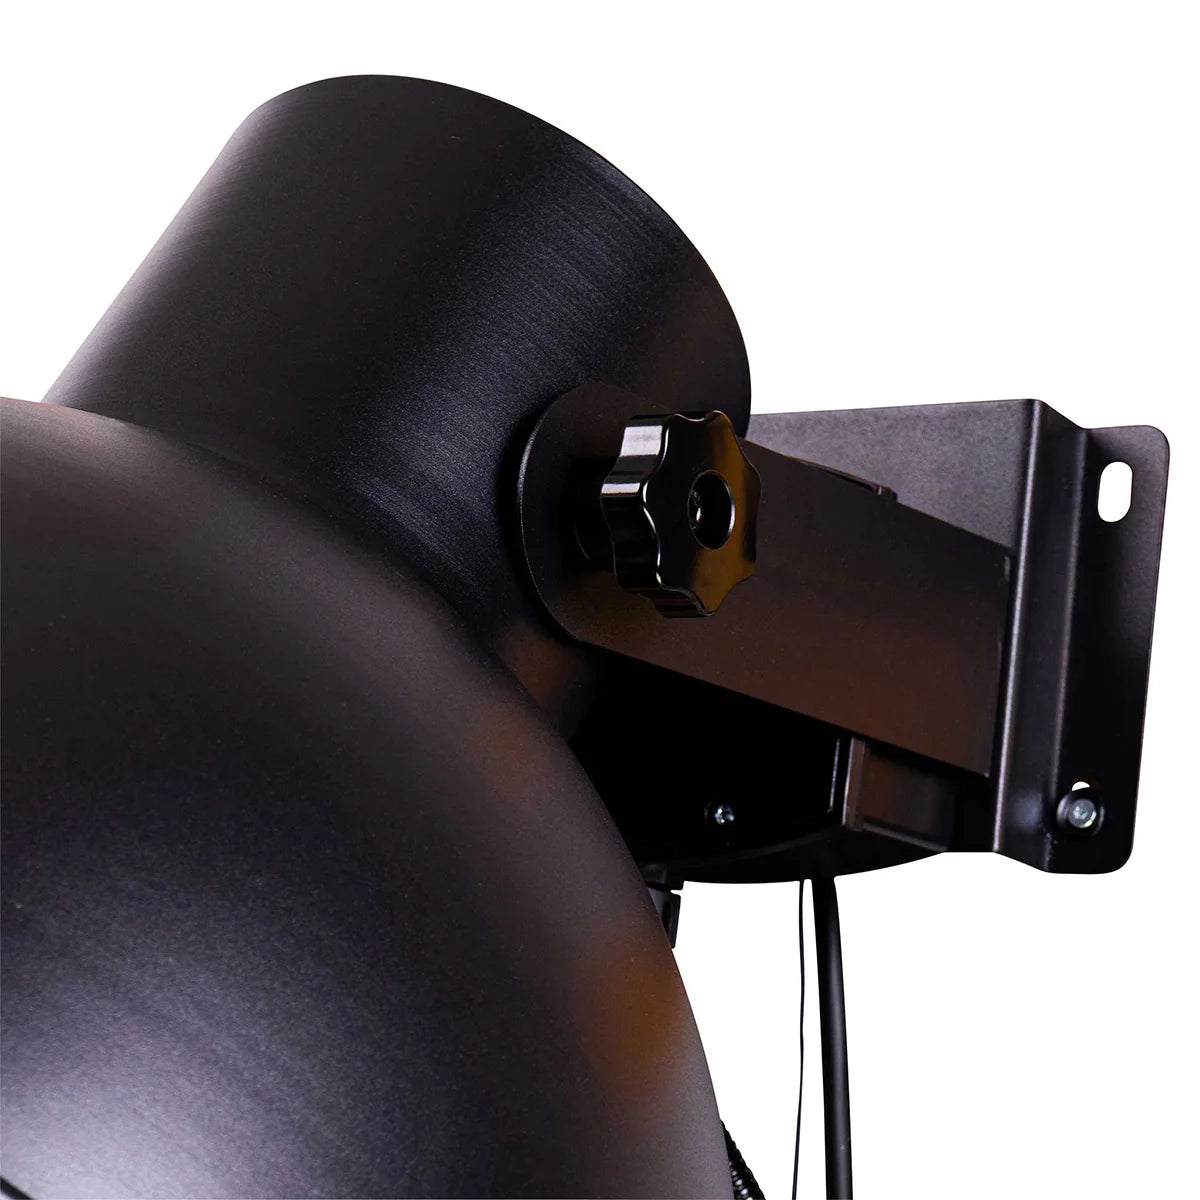
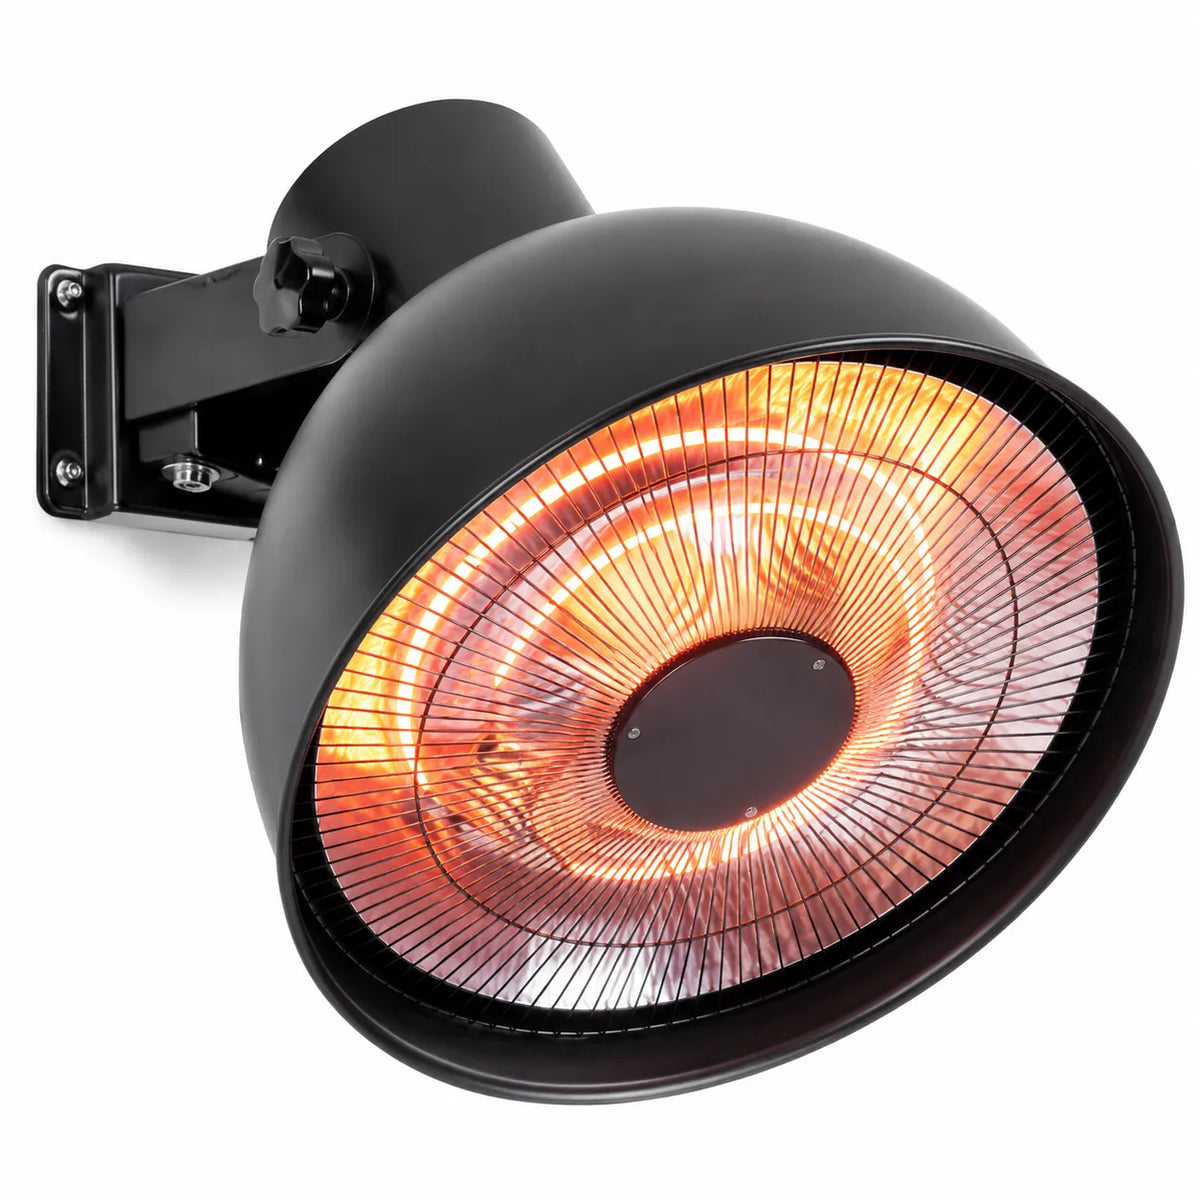
The Vega Mushroom Heater is the ideal solution for anyone who wants to heat an outdoor area without taking up floor space: it mounts to the wall with a sturdy adjustable bracket, with a head that tilts up and down to direct heat exactly where needed. Once the knob is securely locked, the direction of the heat stays fixed until the next adjustment.
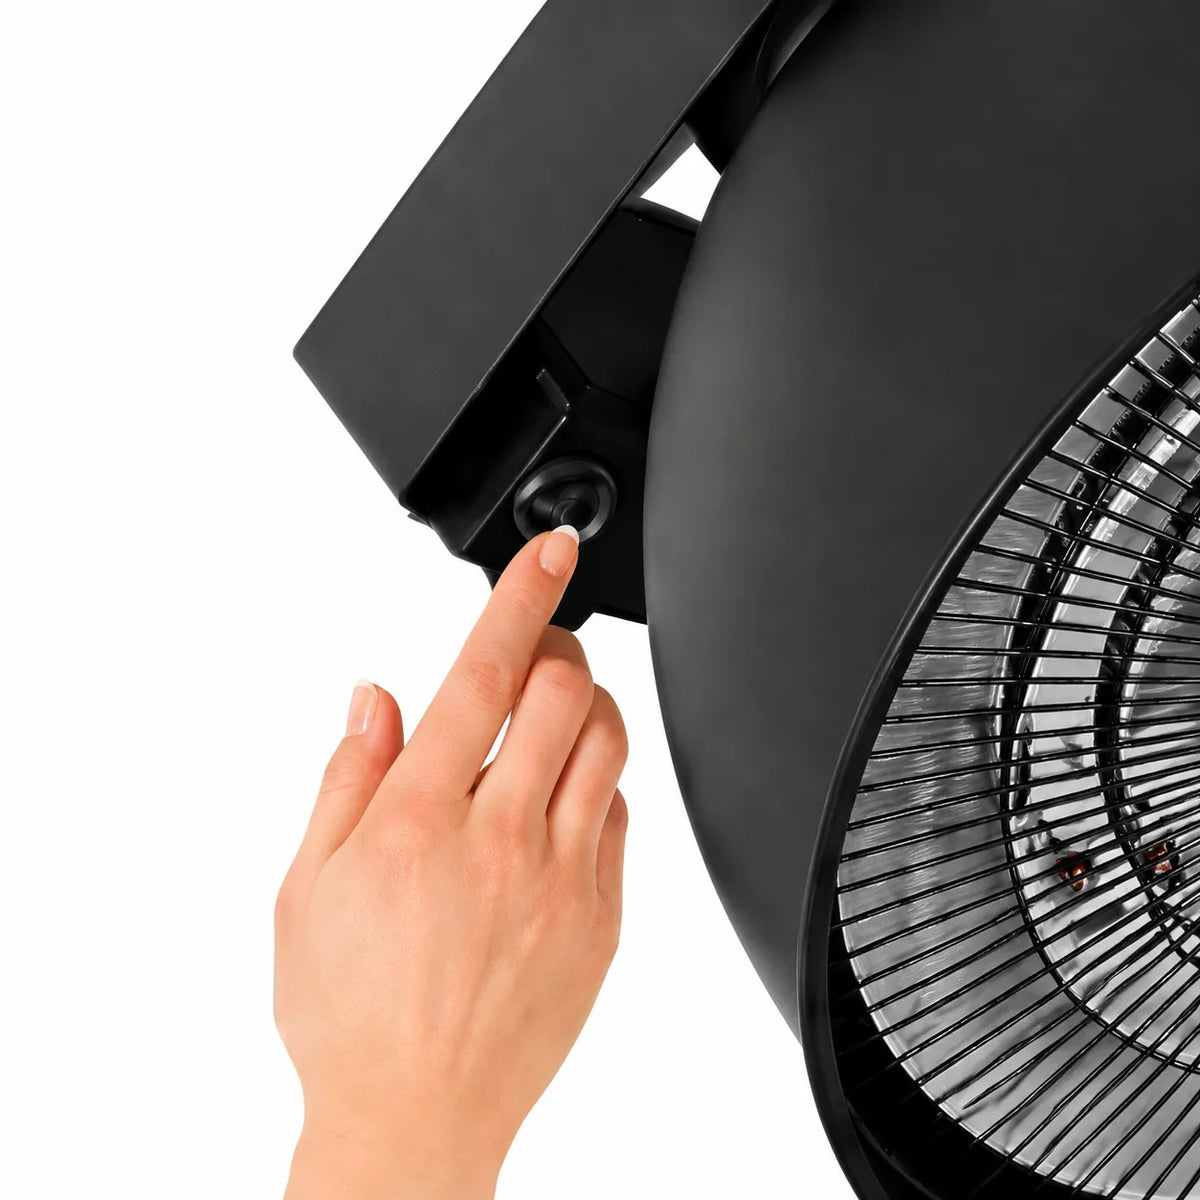
Like Cosmos, Vega also offers a triple control system: a slide switch on the heater body, a remote control with MAX/MED/MIN settings and an integrated "Power Setting" touch panel, as well as Wi-Fi control from a smartphone to manage power, shutoff and output remotely.
IPX4 certified, with dual halogen tubes rated for 5000 hours, Vega must be installed at least 1.8 m above the ground, with a minimum distance of 100 cm from the adjacent wall and 30 cm from the ceiling.
Distributed by Tempo Style S.r.l. (Trani, BT), the product is covered by a 24-month legal warranty for end consumers and 12 months for legal entities (B2B).
Technical and Construction Specifications
| Model | VEGA™ — Art. WEH01-WR/EN 3000W |
| Type | Wall-mounted outdoor heater with adjustable head |
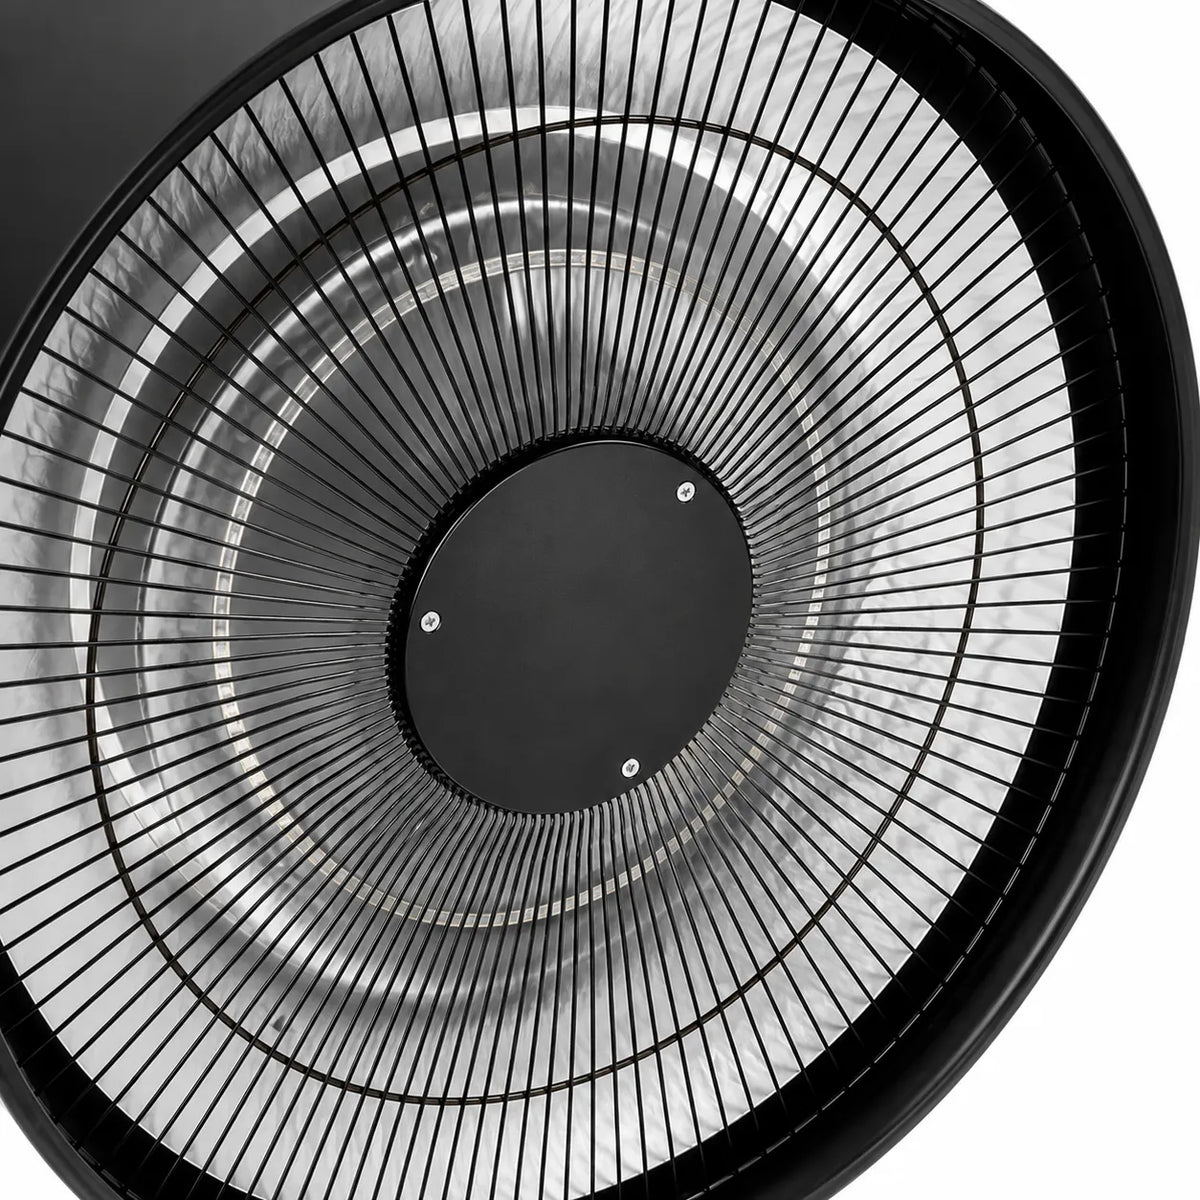
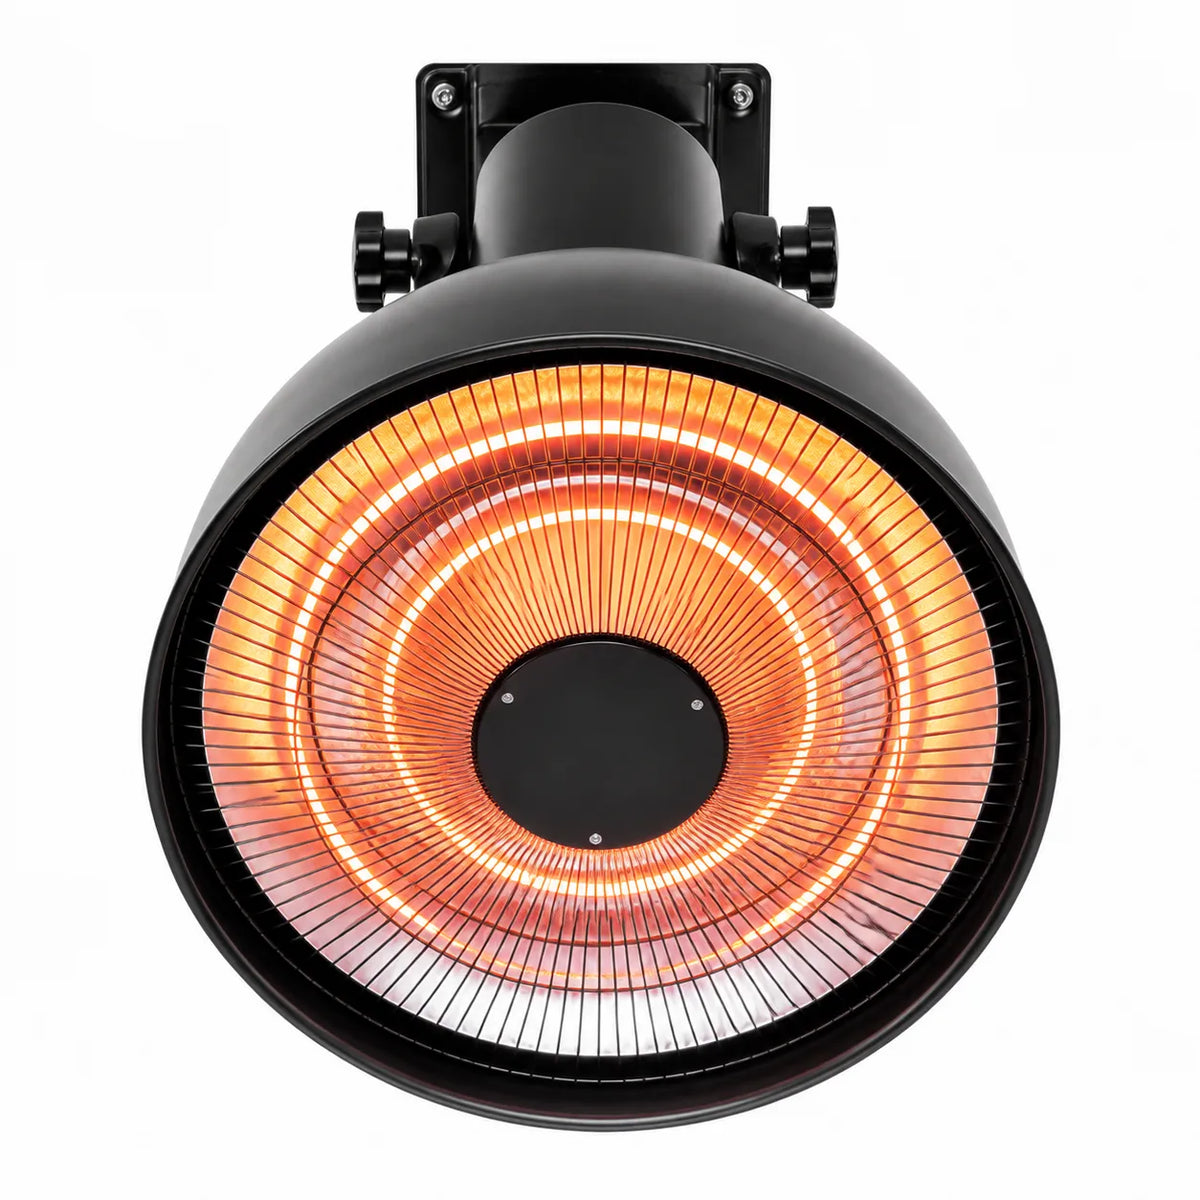
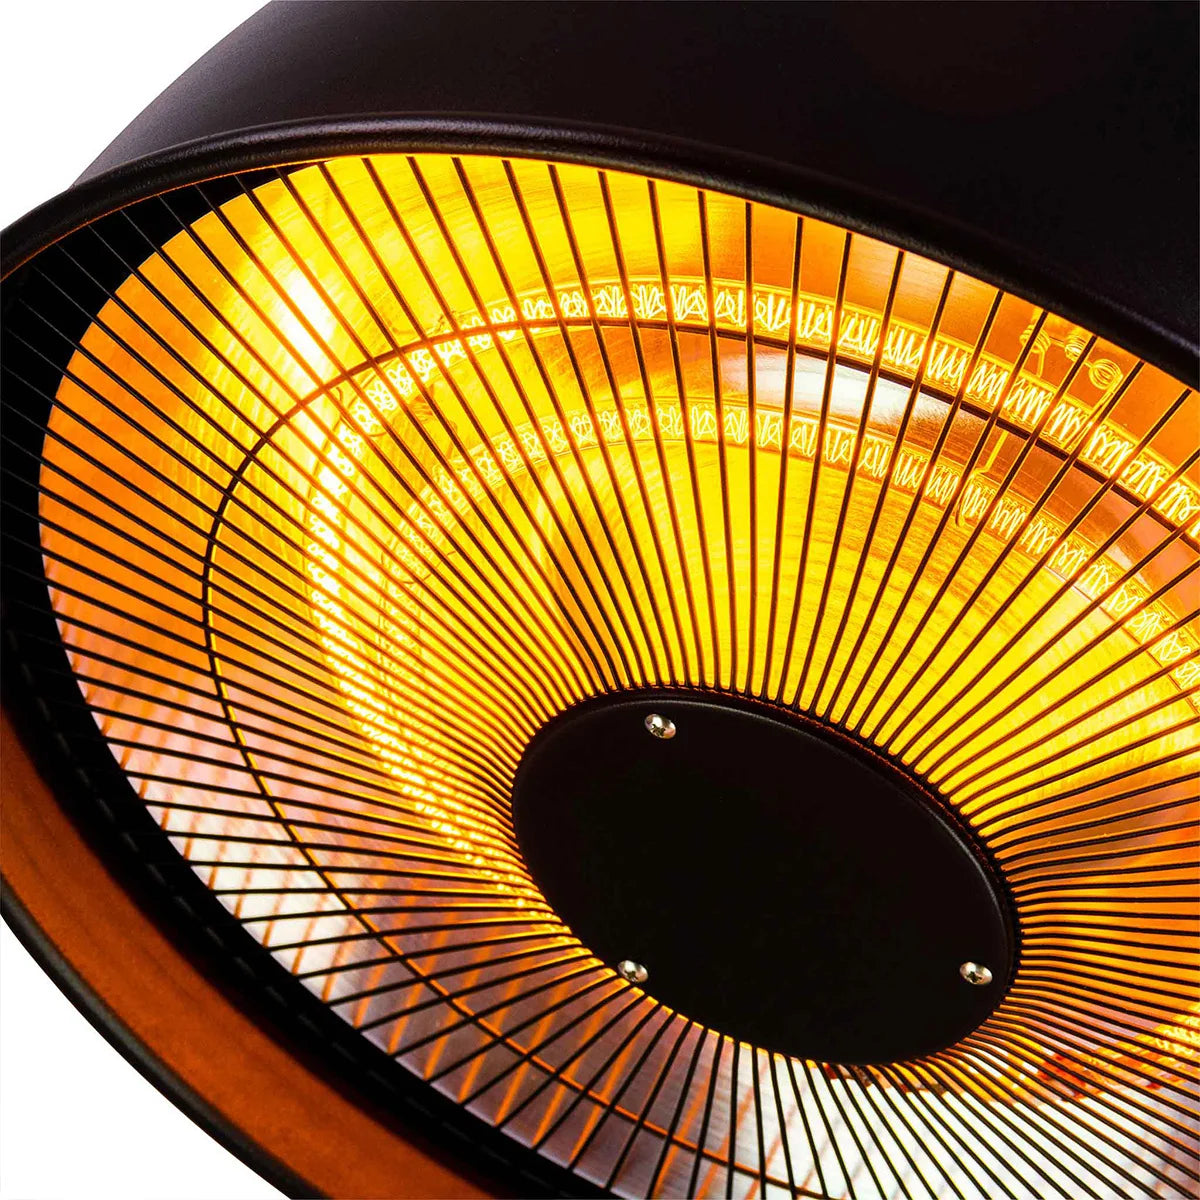
| Heating element | 2 halogen tubes, 5000-hour lifespan |
| Power | 0 / 1200 / 1800 / 3000 W |
| Head adjustment | Up/down adjustable joint, released via knob — direction can only be changed using a tool once mounted |
| Controls | Slide switch · Remote control (MAX/MED/MIN) · "Power Setting" touch panel · Wi-Fi app |
| Power supply | AC 220-230V~ 50-60Hz |
| Power cord | 1,9 m |
| Protection rating | IPX4 (protected against water splashes) |
| Mounting | Wall bracket with 2 M10x12 screws on the heater + 4 self-tapping wall screws (Ø12mm holes) |
| Color | Black |
| Included accessories | Protective cover |
| Distributor | Tempo Style S.r.l., Contrada Curatoio 5, Trani (BT), 76125 |
| Warranty | 24 months B2C / 12 months B2B |
Installation
- Attaching the bracket to the heater — Screw the wall bracket to the heater body using the 2 supplied M10x12 screws.
- Drilling the wall — Drill 4 holes with a diameter of 12 mm in the wall at the desired location (observing the minimum safety clearances).
- Inserting the screws — Insert the 4 self-tapping screws into the holes just drilled.
- Installation — Holding the heater securely, hook the bracket onto the self-tapping screws and tighten them fully.
- Electrical connection — Only after completing installation, connect the heater to a grounded 220-230V/50-60Hz outlet.
Required safety clearances: at least 1.8 m from the floor, 100 cm from adjacent walls, and 30 cm from the ceiling. Once mounted on a wall or ceiling, the heat direction cannot be changed without using a tool.
Head adjustment: loosen the knob to tilt the head upwards or downwards, then tighten it securely before use — do not force the adjustment while the knob is locked, to avoid damaging the heater.
Functions and Features
- Space-saving wall mounting: completely frees up the floor, ideal for patios and verandas with limited space
- Adjustable head: joint with locking knob to direct the heat upwards or downwards
- Triple control system: sliding switch, MAX/MED/MIN remote control, "Power Setting" touch panel
- Smartphone Wi-Fi control: switch on, switch off, and adjust the power remotely via the app
- 3 power levels (1200W / 1800W / 3000W) to adjust the heat to the space
- 5000-hour dual halogen tube: instant heat and long-lasting performance
- IPX4 certification: protected against water splashes, suitable for outdoor terraces and verandas
Dimensions and Capacity
| Power cord | 1,9 m |
| Minimum distance from the floor | 1,8 m |
| Minimum distance from adjacent wall | 100 cm |
| Minimum distance from the ceiling | 30 cm |
| Heating head dimensions | 42 (H) x 40 (D) cm |
| Package dimensions | 48 (L) x 48 (W) x 46 (H) cm |
| Weight | 3.5 kg |